Tutorial: Nitro Colour Application on Extension Nails
And here is a step by step tutorial on how to apply Nitro’s colour on extension nails.
- Once you stuck on the tips and prepared the nail you're going to use extension foundation to blend in the tip to your client’s natural nail.
- We're going to start off a filling in the gap between the natural nail and tip before applying three coats of extension foundation per nail with every progressive coat you're gonna get wider and higher.
- Remember to apply the activator immediately after every finger.
- Next, we're going to file down the nails so that it is smooth and even for the application of the colour.
- Next, we going to brush up all the excess dust off their hands.
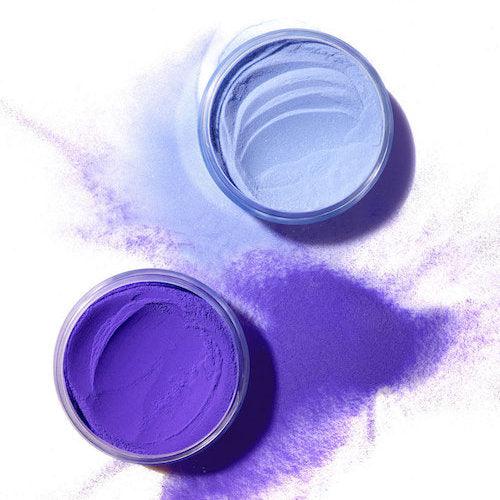
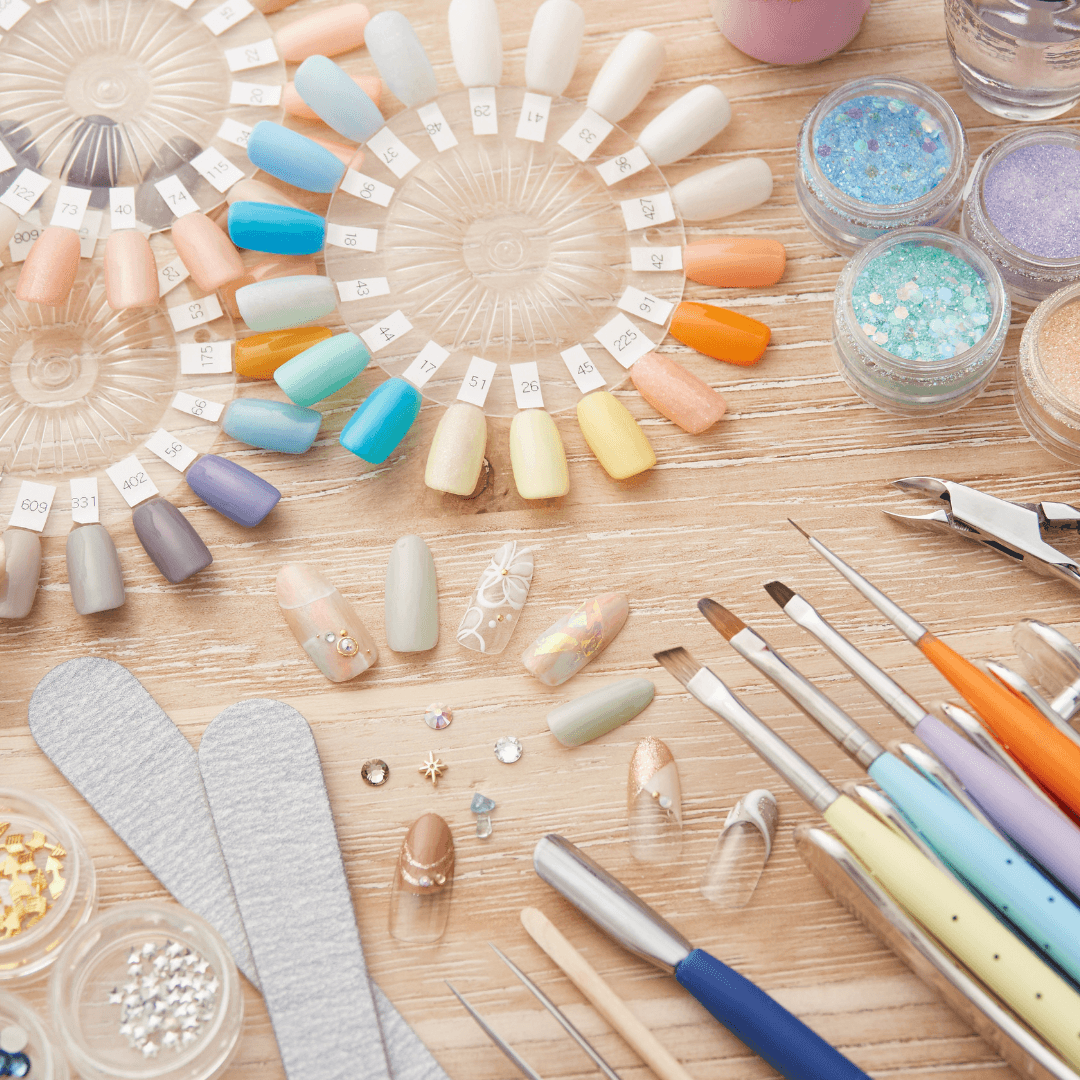
- As we are now applying colour, we're going to be using colour base.
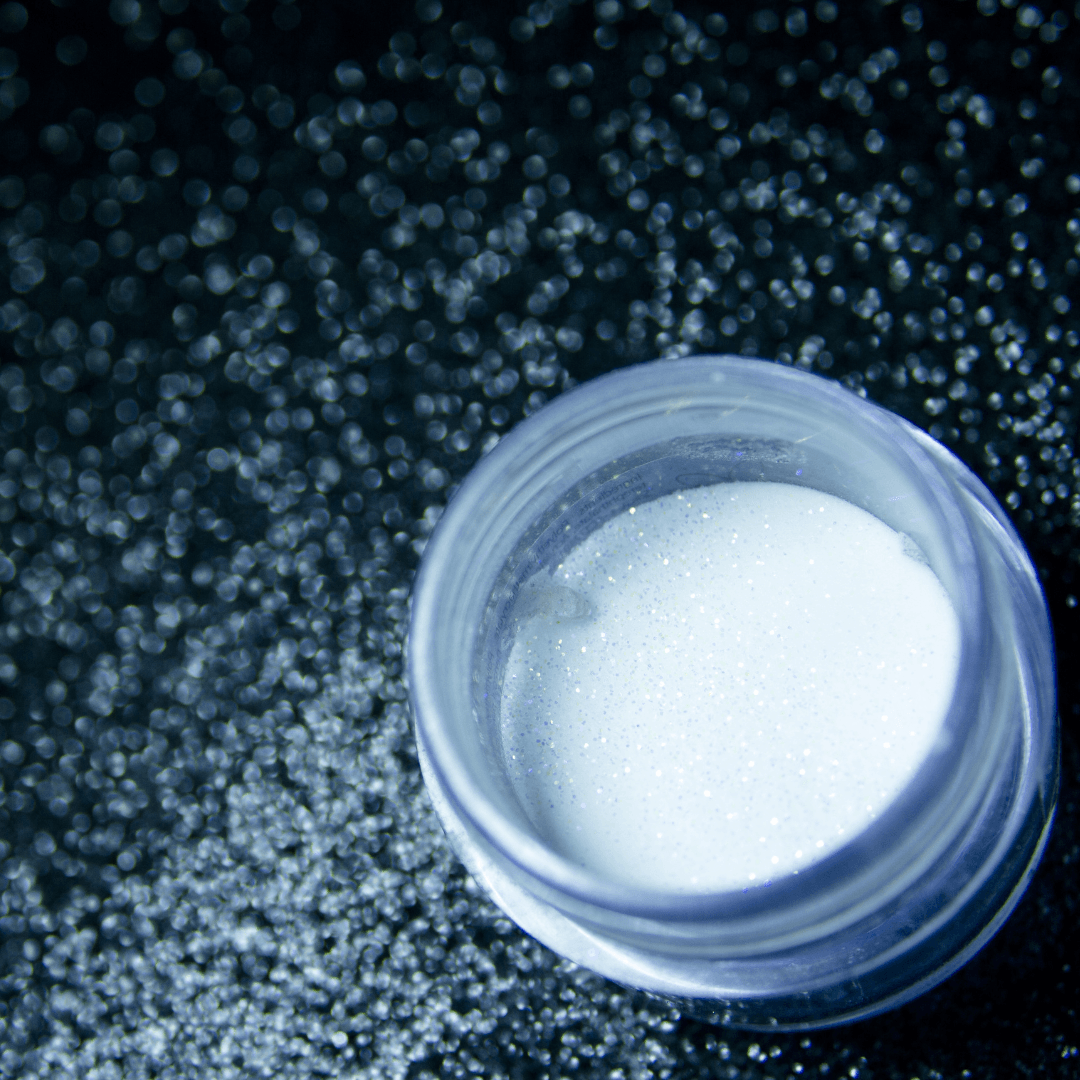
- Apply on a coat of colour base and dip it into your desired colour.
- After you finish applying your first coat, you want to brush off all the excess powder before you apply your second coat.
- Now you want to brush up all the excess powder around and under the nail.
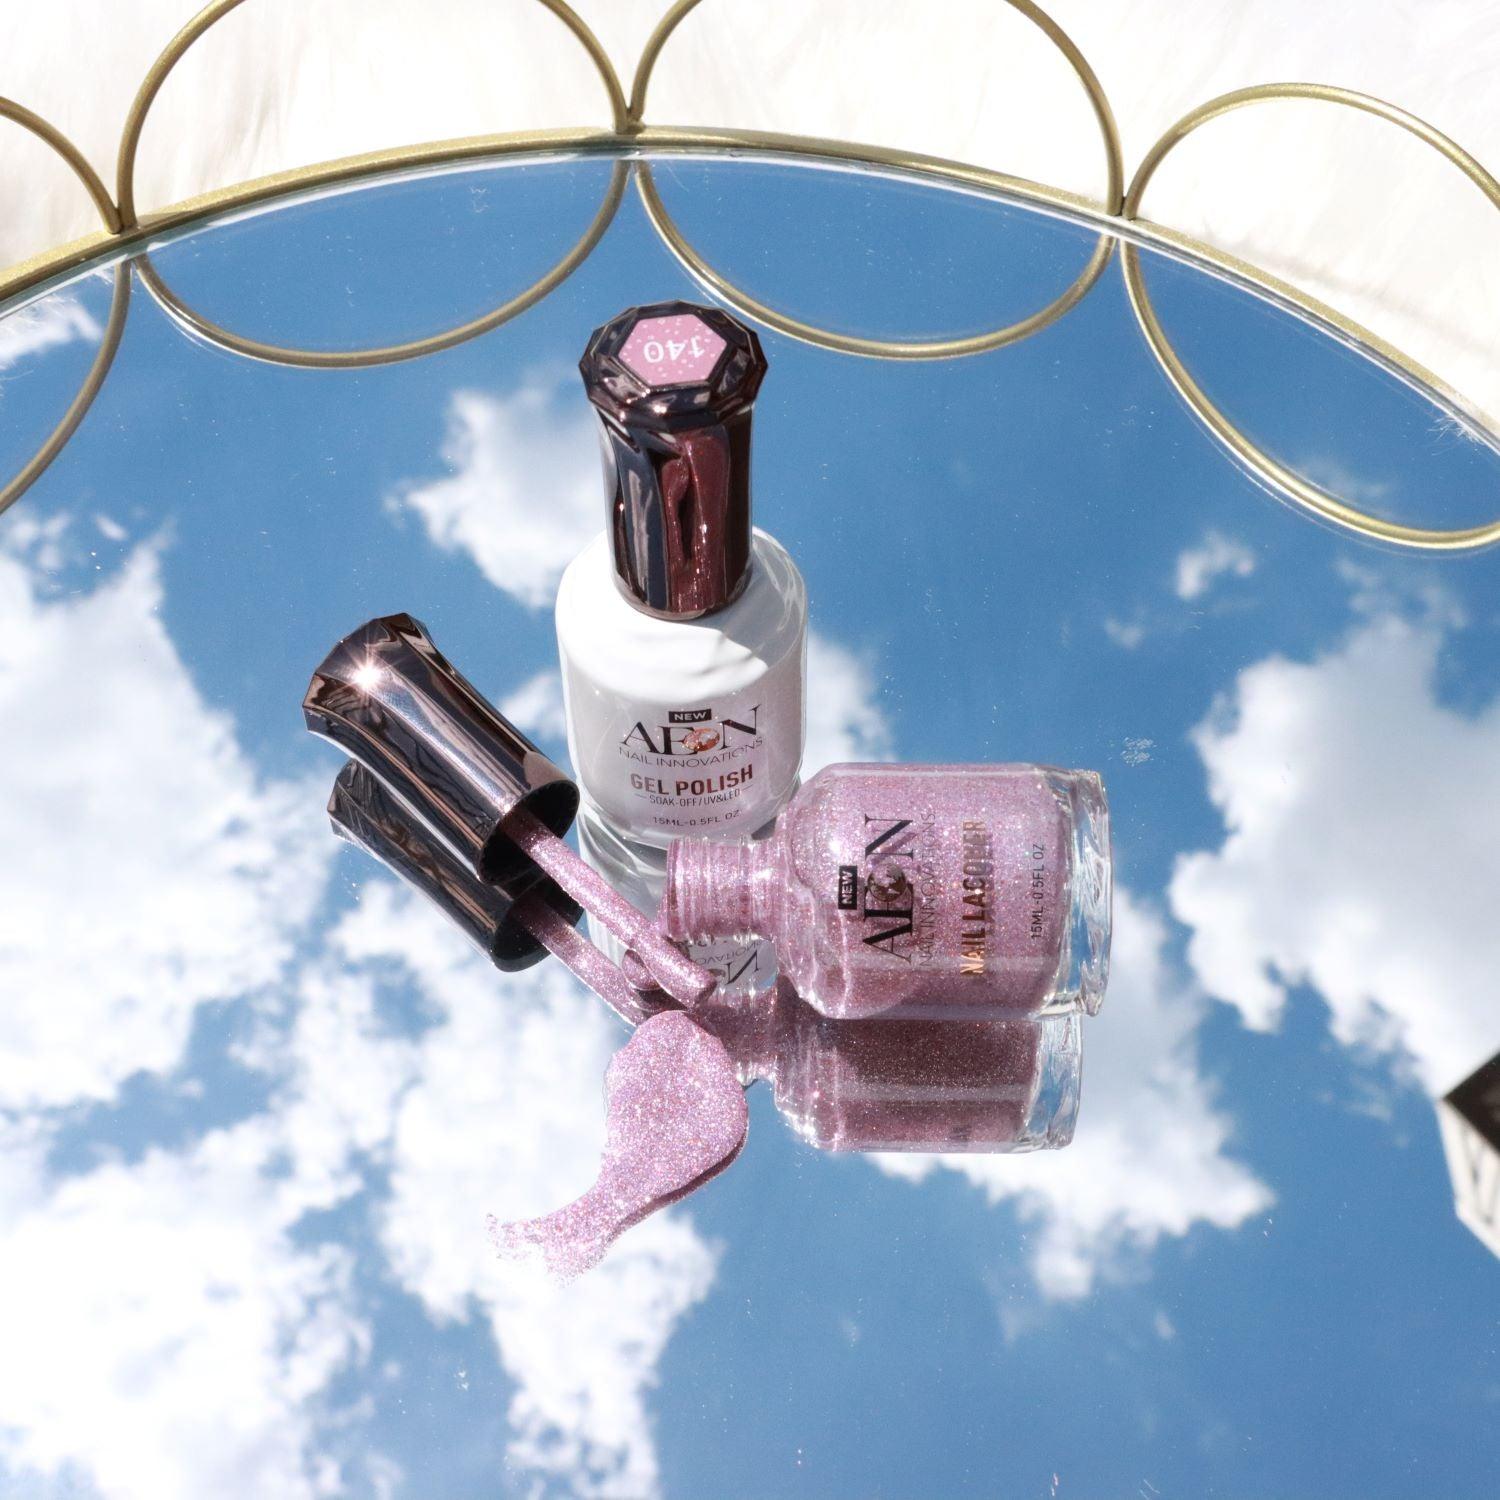
- Next, we want to put on a layer of crystal clear to protect the nail and we're going to start off by putting a layer of colour base and then dipping it into the pot.
You want to be careful not to go to close to your client's cuticle so that you don't get it all over their skin. - After you've dip each finger into the crystal clear you want to apply the activator immediately to allowed time for the powder to dry.
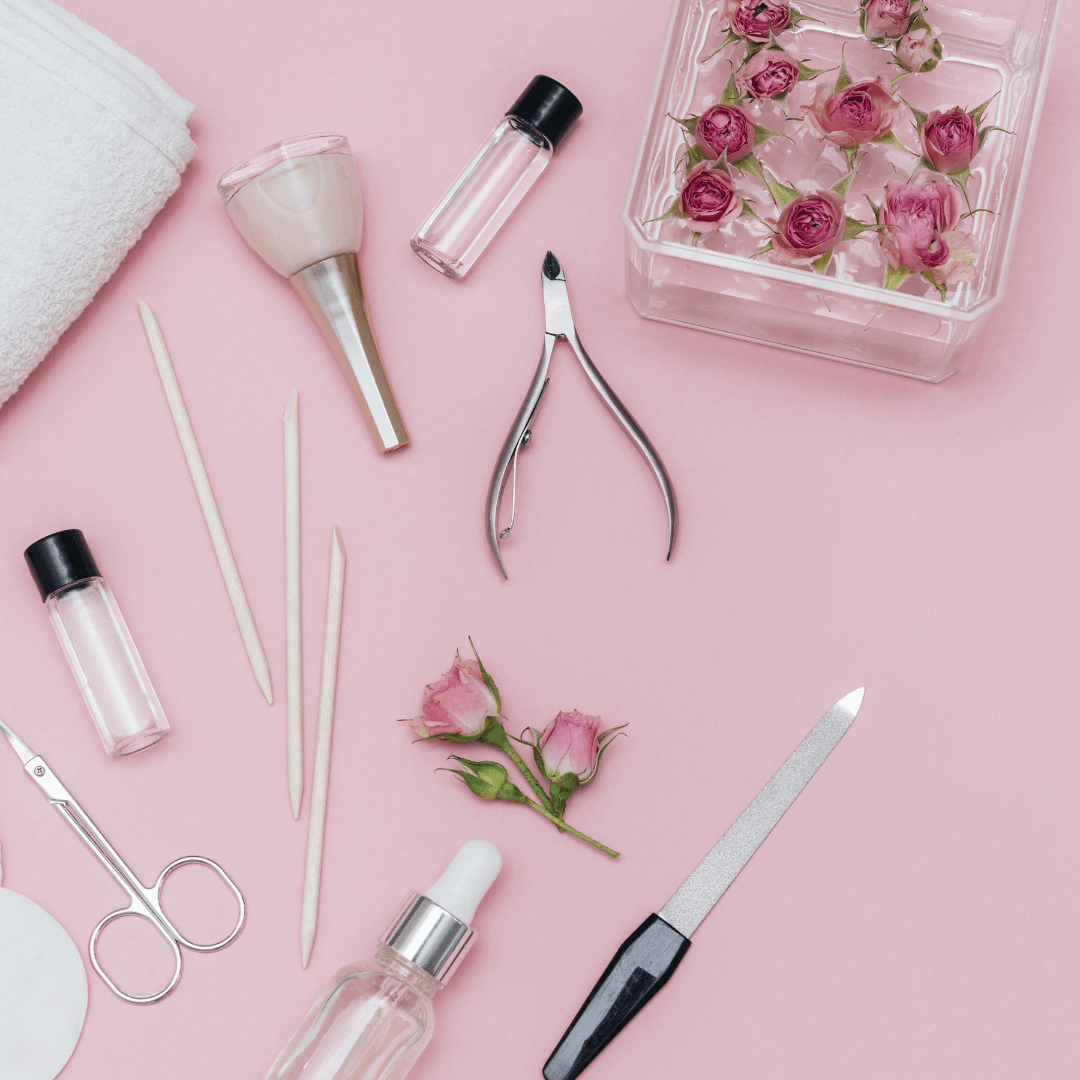
- Now we want to file the nails into shape
- Next, we want to further file it to smooth and even out the surface.
- Then we're going to buff out the nail.
- Brush off all the excess dust off their hands.
- Apply on a coat of activator on every nail before sending the client's off to wash their hands
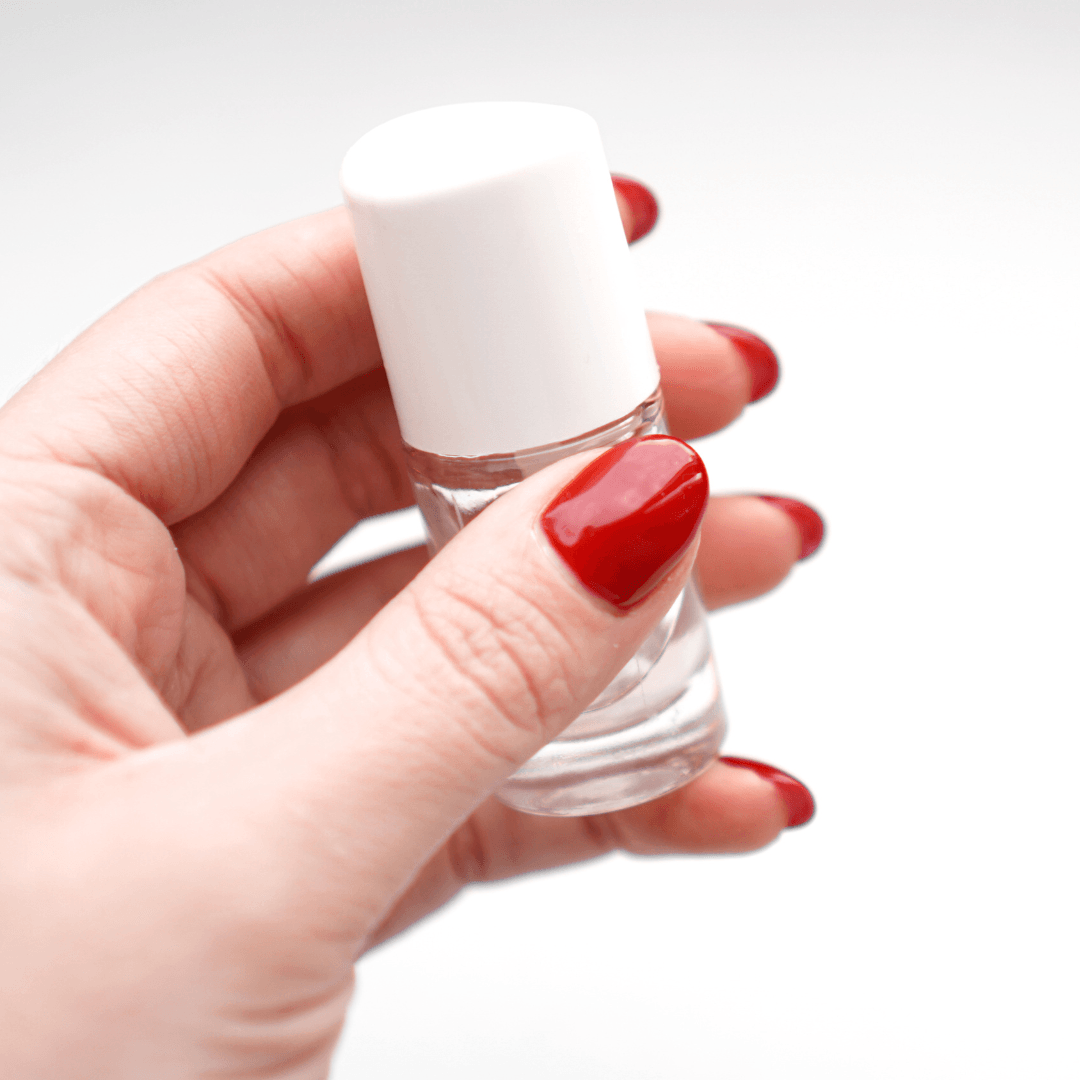
- After ensuring that the nail is completely dry we're going to apply two coats of glossy top
- Wait 60 seconds and then apply and massage in the vitamin oil into the client’s cuticles